The Shimpaku Transformation, Step by Step
What's Inside
- Initial tree assessment
- Graft installation
- Aftercare checkpoints
- Three-year result
- Practical conclusion
This case follows one mature Shimpaku from its initial design assessment through graft installation, three consecutive growing seasons, separation, and early redesign. The record relies on dated photographs taken from a fixed front and written checkpoint notes. Its sequence matters: the final branch positions began as design decisions, while the graft unions developed through controlled growth over several seasons.
Can Thread Grafting Rebuild This Lower Trunk?
Could thread grafting restore usable lower branches to a mature Shimpaku whose foliage had retreated above a long bare trunk?
The tree had an established trunk with mature bark and useful movement. Its living foliage, however, occupied the upper canopy. Between the soil line and the lowest usable branch, the trunk carried no growth capable of supporting a compact design. That empty span separated the canopy visually from the base and made the composition read taller than the trunk movement warranted.
The assessment focused on a positional problem. The tree needed living branches at selected points on the lower trunk, not merely more foliage somewhere within the crown. Those positions would have to improve taper, establish front-to-back depth, and create a readable transition into the existing upper canopy.
The case therefore followed five connected stages: assessment, graft placement, multi-season aftercare, tissue integration, and redesign. One tree cannot establish a universal timetable for Shimpaku grafting. It can show the observable conditions used to decide when a union is developing and when separation becomes reasonable.
Before any tool touched the tree, the proposed lower branches were drawn into a future silhouette. That drawing established where each branch needed to leave the trunk. The drilling route came later.
Why the Bare Trunk Required Grafting
High foliage mass placed the visual centre of the tree well above its most interesting trunk movement. The bare lower section offered no branch to interrupt the vertical span, no foliage to bring depth toward the viewer, and no gradual transition from the base into the crown. Preserving the existing silhouette would also preserve those structural weaknesses.
Ordinary pruning could redirect energy among existing shoots and reduce the weight of the upper canopy. It could not place a branch at a chosen point on old lower wood. Waiting for back-budding offered uncertain placement and uncertain timing, which made it a poor match for a design already defined by specific branch positions.
A severe trunk reduction remained possible. It was set aside because it would discard much of the movement and mature bark that made the material worth developing. Thread grafting offered a deliberate way to retain that established character while introducing growth where the composition required it.
Four Courses Considered
- Preserve the tall silhouette: retain the mature crown and accept the long empty section below it.
- Reduce the trunk severely: rebuild from a lower point while sacrificing established trunk character.
- Wait for back-budding: allow the tree to determine whether and where new buds appear on old wood.
- Place thread grafts: route vigorous donor shoots through the trunk so their exits coincide with the intended branch lines.
The fourth course matched the drawing most closely. The exit hole is the branch: on this Shimpaku, each lower-trunk position came from the intended silhouette first. The entry side was then chosen according to the cleanest path to that mark.
Pre-Drill Go or No-Go Check
- The tree is growing strongly and is not recovering from repotting or heavy reduction in the same season.
- Each donor shoot has enough length to cross the trunk and emerge with foliage to spare.
- The donor bends toward the proposed entry without cracking at its base.
- Live tissue can be traced above and below every proposed entry and exit.
- The future branch line has been marked from the intended front before selecting a drilling angle.
- The trunk can be held steadily throughout drilling and threading.
Tracing live tissue was essential. A channel through a dead vein would provide no active cambium for the donor to press against. Reference photographs recorded the front, entry mark, exit mark, donor origin, and intended branch line so later swelling could be compared with the original placement rather than recalled from memory.
Unknown Channels Stop Work
This case applies to structurally sound material carrying vigorous donor growth. A weak tree, a tree recovering from same-season repotting, or a trunk with an uncertain live vein presents a different risk. If the living route around the intended channel cannot be followed with confidence, drilling should stop.
Installing the New Lower Branches
Installation began with donor selection. A useful shoot needed enough length to pass completely through the trunk while retaining active foliage beyond the exit. It also needed sufficient flexibility to enter the channel without a brittle bend near its origin. Length alone was inadequate if the approach placed damaging leverage on the shoot base.
Placement logic came before drilling mechanics. The exit mark fixed the future branch position and initial direction. Only after marking that point was the entry chosen, using a route that allowed a smooth donor path and avoided unnecessary injury to important live veins.
Preparing the Channel
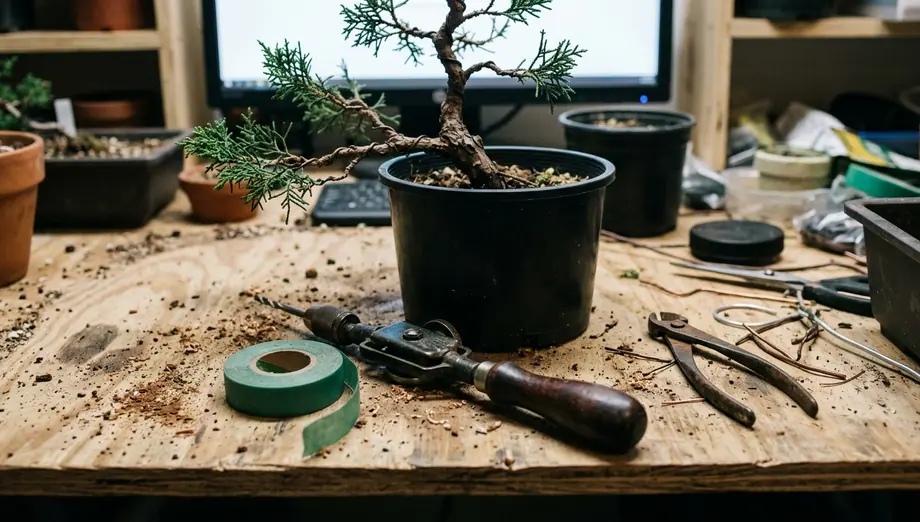
The drill bit was selected against the prepared section of the actual shoot. The appropriate bit accepted that section with slight resistance rather than visible slack. A fixed diameter would have been misleading because donor thickness and bark texture vary from shoot to shoot.
The trunk had to remain firmly braced so the bit could follow the marked route. If it drifted far enough that the exit no longer met the intended branch position, work stopped. A mechanically successful hole in the wrong place would fail the design objective established during assessment.
Feeding and Seating the Donor
- Mark the intended exit from the future silhouette.
- Trace a smooth route to an entry point that preserves important live tissue.
- Prepare the donor section and compare it directly with candidate drill bits.
- Brace the trunk and open the channel along the marked line.
- Feed the donor through in one continuous, unhurried pass from entry to exit.
- Seat the emerging shoot firmly against the side of the exit where future thickening will create pressure.
- Stabilize the donor at the entry and beyond the exit without restricting diameter increase.
The shoot was fed rather than pulled. Pulling increases the chance of scraping or stripping bark against the channel wall, particularly as foliage and side growth approach the entry. Gentle rotation could help the prepared section negotiate ordinary resistance, but resistance that would not clear was treated as a stop-work signal.
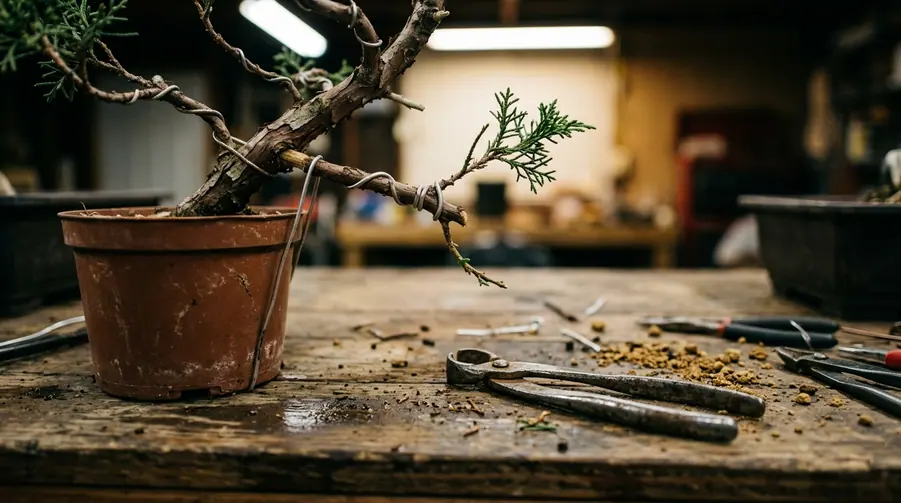
Centred placement inside an oversized opening would delay useful pressure. On this tree, each donor was seated against the exit edge so radial thickening could press its cambium into the surrounding live tissue. Ties prevented the shoot from sliding while preserving space for expansion. Wound seal was applied around the exits as part of this recorded procedure; the case does not establish it as a compulsory step for every thread graft.
Damage Ends the Pass
Stop if the donor splits or crushes, if rotation does not clear resistance, if the trunk cannot be braced, or if bit drift moves the exit away from its mark. Continuing after one of these events exchanges a controlled graft for damaged tissue and uncertain placement.
Protecting the Grafts Through Three Growing Seasons
Extension Builds Union
Leave the donor shoot growing strongly after installation. Diameter increase creates pressure at the seated exit edge, bringing cambial tissue into sustained contact. Stable light, careful watering, routine inspection, and protection from accidental movement take priority over immediate styling.
Aftercare was managed primarily as a restriction list. Tidying the donor extension would reduce the growth driving thickening. Early wiring could disturb its seating. Repeatedly moving the tree for a better viewing angle could introduce movement at a union that needed stability.
The tree remained in a fixed position with consistent light and followed its normal watering schedule. Monitoring concentrated on the graft itself and on the health of the extension beyond the trunk. Darkening, dieback, movement at the exit, or donor foliage falling into shade would each warrant attention.
Checkpoint Record
| Stage | Observed condition | Practical response |
|---|---|---|
| First growing season | The shoot continued extending beyond the exit, with no visible change at the contact point. | Growth was protected. The absence of early swelling was read as an expected stage rather than a failure signal. |
| Second growing season | Gradual swelling and callus appeared along the exit edge where the donor had been seated. | Tie positions were adjusted to remain clear of expanding tissue. |
| Third growing season | Growth beyond the union remained vigorous while the exit showed developed tissue continuity. | The donor connection was partially reduced early in the growing period. Separation was completed later after the branch continued to support itself. |
During active extension, ties and guiding wire were checked every 10–14 days. Outside active growth, inspection moved to roughly monthly intervals. The area most likely to thicken was also the area where a forgotten tie could bite first, so each check included the exit edge as well as the donor’s approach.
Partial reduction provided a functional test before complete separation. The branch had to sustain vigour beyond the union after its original supply line was restricted. Three years records this juniper’s response under its own growing conditions; it should be treated as an elapsed case history rather than a release schedule for another tree.
What Changed After Three Years
The result was judged against the original defect: an interesting mature trunk carrying no usable lower growth for a compact composition. By the third growing season, the grafts had integrated and supplied live branch structure at the selected lower-trunk positions. Pruning alone could not have produced that placement.
Four observable criteria guided the review. Growth continued beyond each union, attachment remained stable under gentle loading, tissue continuity was visible around the exit, and the new branch could begin to take a position within the composition. These criteria kept the assessment tied to visible function rather than optimism about swelling alone.
Design Effects at the Fixed Front
- The visual centre moved lower on the trunk.
- New growth added depth along the front-to-back axis.
- Living branches interrupted the formerly bare span.
- The lower structure created a clearer transition into the established crown.
The third-year result marked structural integration, not finished refinement. The new branches still needed time to thicken. Their primary lines required selection, and controlled wiring would follow only after separation had settled. Foliage pads and vigour balance between the young lower branches and the established upper crown remained future work.
What the Case Supports
The transferable sequence is concise: design the exit before drilling, select vigorous donor growth, keep the channel close to the prepared shoot, stabilize the donor, protect extension, read the union across seasons, and separate in stages. The drilling placed the shoots in one working session. The decisive horticultural work occurred during the years of undisturbed growth that followed.
About the bonsaiexperience Editorial Team
The bonsaiexperience editorial team produces educational resources on bonsai cultivation and care, styling and pruning, and species-specific care. In this case study, observations from one documented Shimpaku are kept separate from broader technique guidance. The record makes no claim that every juniper will integrate or separate on the same schedule.
For a healthy mature Shimpaku with a sound trunk and missing lower growth, plan thread grafts around the intended branch exits and accept the multi-season wait rather than sacrificing the trunk’s established character through drastic reduction.