What's Inside
- What Restyling Means in This Case
- The Starting Challenge: A Bush Without Structure
- Year One: Reveal the Trunk, Protect the Tree
- Years Two and Three: Wire the Design, Then Wait
- Tip: Keep a Seasonal Decision Log
- Years Four and Five: Build Refinement From Vigor
- Results: What Actually Changed
- Five-Year Intervention Map
- Key Takeaway
- A Note on Method and Restraint
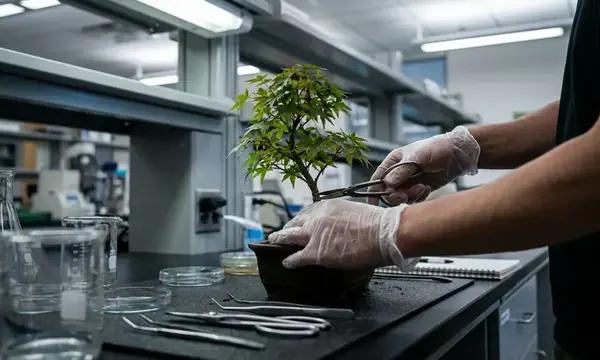
This juniper bonsai restyling case study follows one overgrown nursery tree through five consecutive growing seasons of staged cultivation and care. The working sequence at the bench moved from the material itself to the horticultural limits, then to pruning, wiring, recovery, and refinement. That order matters because every later styling and pruning decision traced back to the tree that arrived, not to a sketch made in advance.
What Restyling Means in This Case
Restyling is the planned redesign of an existing tree’s structure, not routine trimming or seasonal cleanup. In beginner fundamentals, those jobs often get mixed together. A light trim may shorten extending shoots two or three times in a year. Restyling asks a harder question: which trunk line, branches, and foliage masses should remain after the tree becomes bonsai?
The subject here was a neglected, container-bound nursery juniper carried through five growing seasons of staged intervention. It started as landscape stock rather than as a finished bonsai. The work turned a dense shrub into a tree with visible trunk movement, primary branch separation, and a maintenance path for refinement.
This is a single-tree case study. Its value lies in the decision patterns, not in copying the exact cuts season by season. Two junipers of the same nursery age can carry sap, inner foliage, and branch strength differently enough that identical pruning produces recovery on one and dieback on the other.
For readers comparing similar nursery stock, the Juniperus procumbens horticultural profile gives useful background on one common bonsai species used in this style of work.
The Starting Challenge: A Bush Without Structure
The first look was not flattering: dense outer growth, no obvious trunk line, crowded branch junctions, and weak interior foliage sitting in shade. The root mass carried the flat, circling pattern that container culture often creates. From the outside, the tree looked full. Inside, it offered less strength than the surface suggested.
That condition ruled out the dramatic one-session transformation sometimes seen in styling demonstrations. A juniper stripped of too much green in one sitting can lose the branch entirely because the foliage behind the cut no longer sustains that section. The tree’s active foliage feeds the live tissue behind it; when that foliage disappears, the branch may not replace it from old wood on command.
Junipers respond slowly after heavy pruning. Interior shoots may need a full season or longer before they show whether they will strengthen, stall, or fade. The safer first task was discovery, not design. The trunk line and branch hierarchy had to be found before any convincing silhouette could be imagined.
Warning: Do not treat nursery fullness as stored strength. On junipers, the green you remove may be the same green keeping a branch alive.
Year One: Reveal the Trunk, Protect the Tree
The first-year priority was simple: expose usable structure while keeping the tree strong enough to recover.
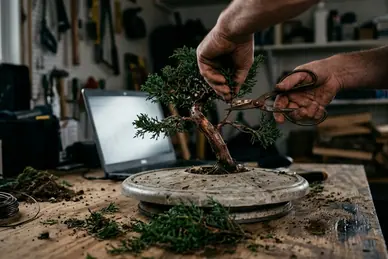
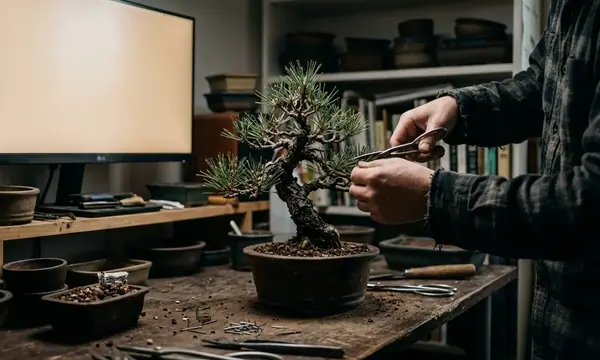
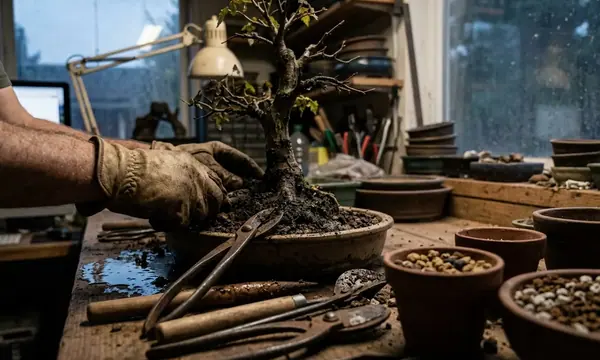
Work began with weak, dead, crossing, and inward-growing shoots. That cleaning opened windows into the trunk and revealed where branches emerged. It also showed which areas carried useful interior foliage and which areas existed only as long, shaded extensions.
Choosing the Front
The front came from trunk movement, nebari visibility where present, and branch placement. It did not come from the fullest view. A green wall may look healthy, but it often hides reverse taper, awkward junctions, or branches that cross the trunk at the wrong depth.
Once the likely front emerged, the first structural cuts stayed conservative. Competing leaders came off. Unusable extension growth was reduced. Enough live foliage remained on each retained branch to drive recovery through the following growing season.
The case notes identify one important restraint: wiring, bending, and root work were deferred. That choice kept the first year focused on pruning response. It also avoided stacking several major stresses in the same recovery window.
Years Two and Three: Wire the Design, Then Wait
When should a discovered tree become a designed tree? In this case, only after it showed continued vigor after the first-year pruning.
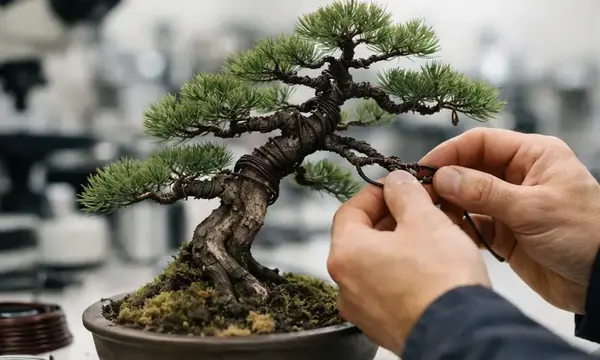
Years two and three moved from finding structure to positioning it. Primary branches were wired to create movement, separation, and light access. The aim was not to force a finished image. Instead, the work made the retained branches readable and created space for inner growth to stay alive.
Why Wiring Took Two Seasons
Nursery-grown juniper branches often resist clean placement. Older wood can be brittle. Crotches may be too crowded for a safe bend. Some branches lower better with a guy wire than with a tight spiral of wire across stiff tissue.
Design positioning was spread across two seasons rather than completed in one. Staged bends gave the tree time to respond between rounds of stress. Wire also required close inspection; on actively growing junipers, it can begin cutting into swelling bark within a single growing season.
Not every juniper needs the same technique. Some branches accept ordinary wiring. Others need light lowering, a guy wire, or no bend at all. Conservative practice avoids combining severe top reduction, aggressive wiring, and major root work unless vigor clearly supports that workload.
In conifer restyling, the branch you save is often more valuable than the bend you manage to impose. Foliage continuity keeps future design options alive.
— Bonsai Experience editorial field note
Tip: Keep a Seasonal Decision Log
Pro Tip: Photograph the juniper from the same front, side, and overhead angles at every major intervention. Same-angle photos make year-to-year change in interior growth legible instead of impressionistic.
Memory tends to protect our last decision. A log corrects that habit. It shows when the same weak branch has been pruned, wired, and repotted too close together.
What to Record
- Pruning dates, including whether the work was cleaning, structural removal, or refinement.
- Wiring dates and the date wire was checked, loosened, or removed.
- Repotting dates if root work occurred.
- Weather at the time of work, especially heat, frost risk, and drying wind.
- Visible recovery signs such as firm shoot tips, stable color, and active extension.
The log does not need elaborate language. A plain entry such as “front cleaned, left lower branch kept for strength, no wire applied” can prevent a poor decision nearly six months later.
Years Four and Five: Build Refinement From Vigor
Refinement began when the tree had enough strength to support more precise work. At this point, the juniper no longer looked merely reduced. It began to read as an intentional bonsai with a trunk line, branch hierarchy, and separated foliage masses.
The work shifted to secondary branch selection, pad spacing, and controlled extension. Strong tips were shortened individually. Shoots that blocked light from inner growth were removed. Useful interior buds were preserved because they gave the tree future options for compact foliage placement.
Hedge-like shearing would have solved the outline quickly and harmed the structure quietly. A clipped shell shades the interior and pushes growth outward. Over time, that produces long bare sections and weak pads with little capacity for correction.
Keeping Pads Alive
Foliage pads need air, light, and a visible connection to their supporting branches. Flat artificial shelves made too early tend to shade out the shoots that keep the pad viable. In this case, refinement meant thinning and shortening with intent, not polishing the tree into a dense green outline.
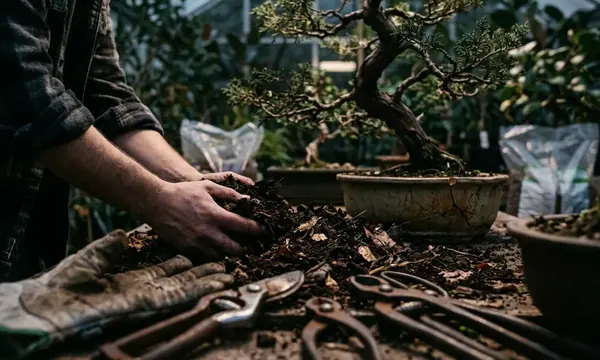
Root work, where performed, belonged in a separate season from major structural or wiring work. That separation kept recovery signals easier to read. If the top weakened, the cause was not hidden inside three simultaneous interventions.
Results: What Actually Changed
After five seasons, the tree had changed in four clear ways: a revealed trunk line, retained primary branches, separated foliage masses, and an ongoing refinement plan. Those results are qualitative because the case material did not provide documented height reduction, canopy spread, or a counted list of retained major branches.
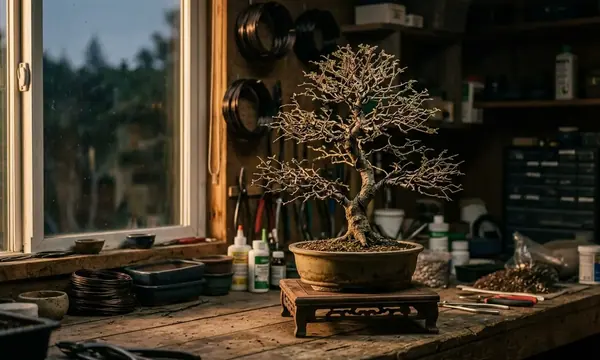
The strongest result was legibility. What began as a shrub became a juniper with a visible path from root base to apex. Primary branches no longer competed equally for attention. Light reached deeper into the structure, which supported the next round of controlled styling and pruning.
Major work occurred in discrete seasonal windows rather than as continuous tinkering. That rhythm gave the tree time to answer each intervention. The practitioner could then decide whether to prune, wire, wait, or leave a branch alone for another cycle.
Key Takeaway: The result came from sequencing, not speed: remove what blocks the design, keep what feeds recovery, and delay refinement until the tree proves it can support it.
Five-Year Intervention Map
This map condenses the case into working phases. It should read as a planning aid, not as a calendar to copy onto every juniper in a collection.
| Season | Primary Work | Deferred / Avoided | Recovery Signal Before Next Step |
|---|---|---|---|
| Year 1 | Clean weak, dead, crossing, and inward growth; select front; remove competing leaders. | Major wiring, heavy bending, and root work. | Interior shoots hold color and retained branches stay firm. |
| Year 2 | Begin primary branch positioning where vigor supports it. | Forcing every branch into final placement. | Wired branches remain healthy and bark avoids wire bite. |
| Year 3 | Continue staged bends, branch lowering, and spacing corrections. | Stacking severe top work with root reduction. | Extension resumes and inner growth remains active. |
| Year 4 | Select secondary branches and improve pad spacing. | Hedge-style shearing across the outer surface. | Light reaches inner shoots and pads stay connected to structure. |
| Year 5 | Refine strong tips, remove light-blocking shoots, and maintain the design path. | Chasing a finished silhouette at the expense of vigor. | The tree supports regular maintenance without losing interior strength. |
Key Takeaway
The full restyling was planned in seasons, not afternoons, with each phase gated behind observed recovery. That rule shaped every decision in the case. It explains why the first year emphasized discovery, why wiring waited for vigor, and why refinement targeted individual shoots rather than the whole outline.
For california bonsai growers working with junipers in dry heat, that restraint carries practical value. Wind, reflected sun, and quick container drying can magnify the cost of heavy pruning. A tree that looks ready on the bench still needs enough active foliage to manage the week after the work.
A Note on Method and Restraint
This case was prepared as a documented editorial study for bonsai learners and practitioners. It emphasizes conservative horticultural sequencing because juniper restyling rewards patience more reliably than force. The method favors visible recovery signs over fixed dates.
Because this case did not track caliper, canopy spread, or a branch-by-branch inventory, the results stay within what the record can support. That restraint matters. It keeps the lesson tied to actual cultivation and care instead of turning one tree into a universal species guide.