What's Inside
- What Decandling Does
- Before You Cut: Safety Checks
- Choose the Right Summer Window
- Set Up a Clean Workflow
- Make the Cut Correctly
- Balance Strong and Weak Areas
- Aftercare and Response Checks
- Common Cautions
- Field Takeaways
Japanese black pine decandling asks for restraint before it asks for skill. The cut itself is simple; the judgment behind the cut determines whether the tree answers with compact summer growth or spends the season recovering from an avoidable demand.
This field guide focuses on refinement-stage Japanese black pine, not young material that still needs trunk girth or weak trees that need recovery. If you need a species refresher before making seasonal decisions, the University of Florida provides useful Japanese black pine species background.
What Decandling Does
Summer decandling removes the hardened spring shoots on Japanese black pine to stimulate a second flush of growth. In practice, the grower cuts away the current season’s extended candle after it has matured enough to stop behaving like soft, expanding tissue.
The needle-shortening logic is physiological, not magical. The second flush develops in the remaining part of the growing season, so the new shoots often finish more compactly than the spring growth when the tree has adequate vigor and the timing fits the climate. The technique also helps create multiple buds near the cut zone, which gives the practitioner more options for future ramification.
Decandling does not strengthen a weak pine.
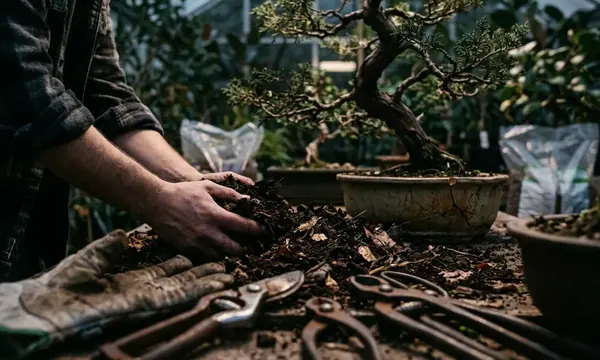
It also does not build a thick trunk efficiently. A tree still growing sacrifice branches for girth usually needs uninterrupted extension, not refinement pruning. Treat decandling as a finishing and balancing technique for a tree that already has enough health, roots, and branch structure to pay the energy cost.
Before You Cut: Safety Checks
Warning: Do not decandle a weak Japanese black pine, a recently repotted tree, a tree with poor color, or a tree without adequate old needles near the cut zone.
That warning belongs at the front because decandling removes working foliage and then asks the tree to spend stored energy on new buds. A pine that looks green but has not rebuilt root strength after repotting can still answer poorly. The familiar case is a recently repotted tree with firm shoots; the grower cuts anyway, then watches a thin second flush because the tree split its reserves between root recovery and new bud formation.
Pre-Decandling Readiness Check
- Spring candles have fully extended and hardened.
- New needles have separated and firmed; shoots no longer feel soft or watery.
- The canopy holds a healthy green color rather than a dull or yellow cast.
- The tree has had a full growing season since repotting.
- Old needle pairs remain near the intended cut zone.
- Watering response has stabilized over several days: the soil dries and re-wets in a predictable cycle.
This guidance applies to Japanese black pine specifically. Japanese white pine and slower-recovering pines require species-specific schedules and should not be pulled into this summer decandling routine by habit.
Choose the Right Summer Window
When should you cut?
The honest answer starts with climate, vigor, and the remaining warm season rather than a universal date. Cut after the spring candles have extended and hardened, but early enough for new buds and summer shoots to mature before autumn. In a short-season cool climate, a mid-to-late cut can leave the second flush soft when frost arrives; the same timing in a long warm-season region may produce a complete compact flush.
Use your fingers before you use scissors. The new needles should have separated and firmed. The shoot should no longer feel watery under light pressure. If it still feels like a soft extension shoot, the tree has not crossed the practical threshold for refinement cutting.
Timing reminder: Timing is a biological window, not a calendar command. Read the shoot first, then consider the season left in your location.
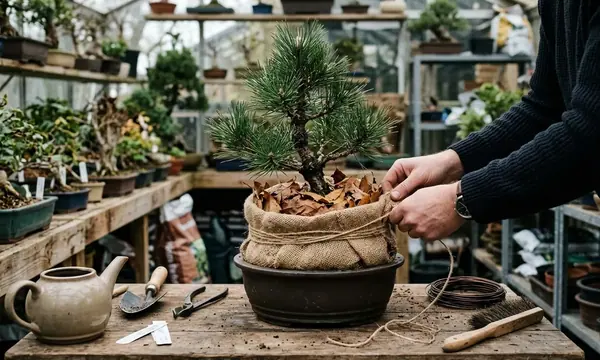
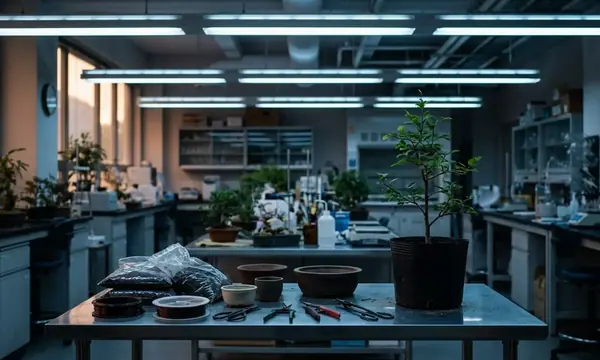
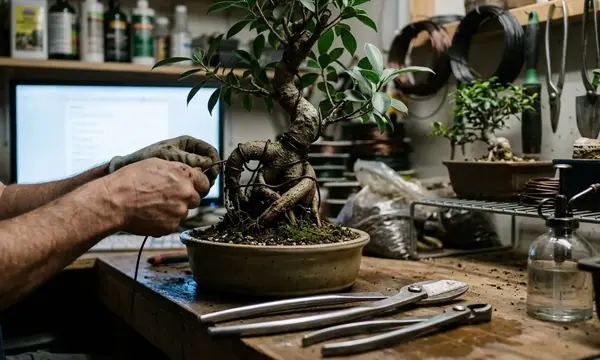
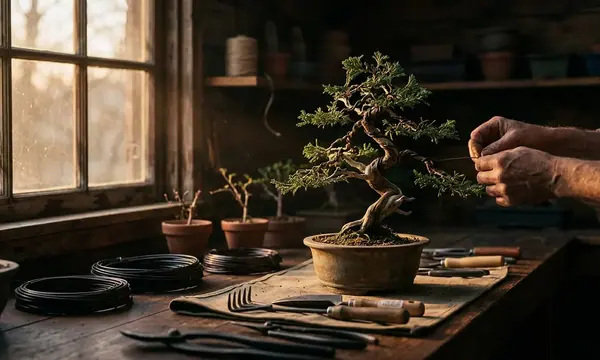
Set Up a Clean Workflow
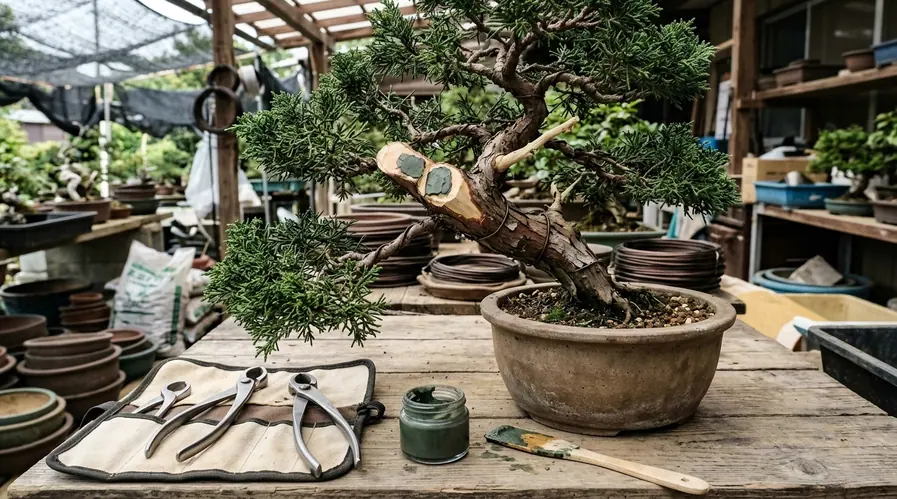
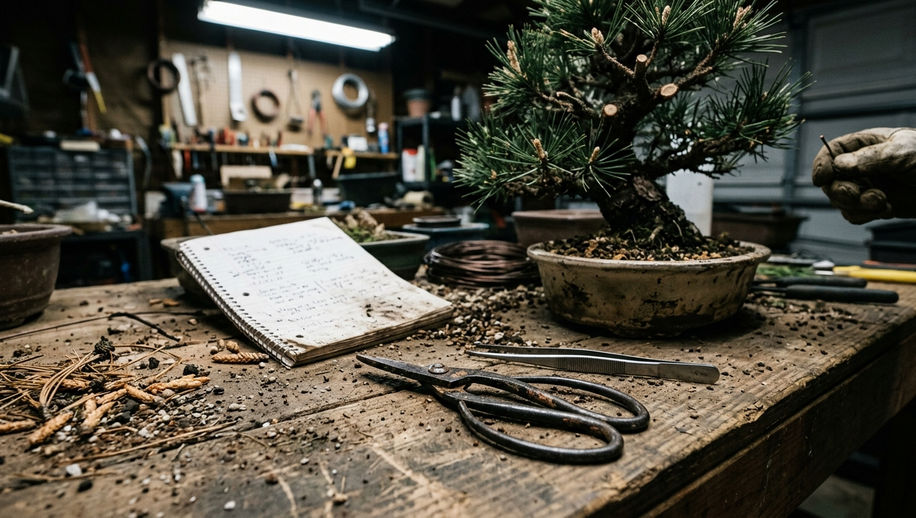
On a decandling day, I set the tree on a turntable with sharp bonsai scissors, cleaning alcohol, tweezers, and a dated tag within reach. The notebook matters as much as the scissors, because next summer’s decision improves when you know what you did this summer.
Clean tools do more than satisfy good hygiene. A sharp, clean cut reduces unnecessary tissue damage and lets you see exactly where the current year’s spring shoot begins. Resin, old needle debris, and crushed tissue obscure that transition point, especially on dense exterior pads.
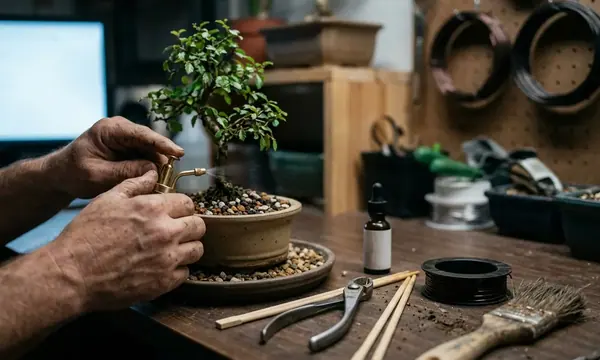
Basic Kit
- Sharp bonsai scissors sized for pine shoots.
- Cleaning alcohol or another appropriate disinfectant for the blades.
- Tweezers for removing loose debris without tearing needles.
- A turntable so you can inspect branch angles without dragging the pot.
- A dated tag or notebook entry for the cut date, tree condition, and weather pattern.
Work from the top and exterior of the tree only after you assess the whole canopy. Strong outer shoots can seduce the hand into cutting quickly. Walk the tree first, group the shoots by vigor, and leave the inner branches alone until you know which ones can afford the treatment.
Working method: Make one full pass without scissors. Sort each shoot mentally into strong, medium, weak, or leave-alone. Small removable markers can help if they do not crush needles or scar bark.
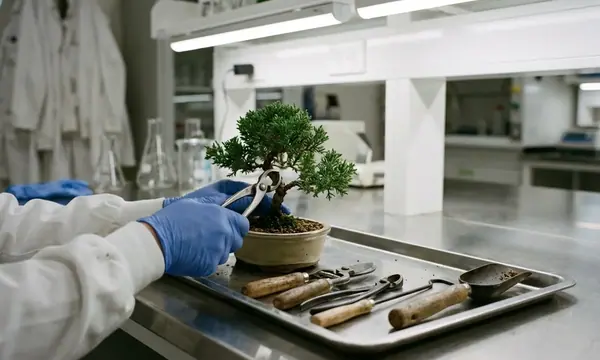
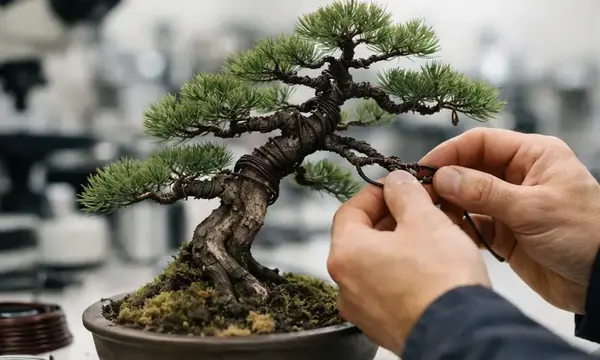
Make the Cut Correctly
The cut is defined by the transition from the current year’s spring shoot to older needles, not by a fixed distance from the trunk. Once you train your eye to see that junction, the operation becomes steadier and less dramatic.
- Identify the current year’s spring shoot. It will be the extended candle growth that has now hardened.
- Locate the transition where the new shoot meets older needles and older branch tissue.
- Confirm that viable buds and old needle pairs remain near the cut zone.
- Stabilize the branch with your free hand without bending it sharply.
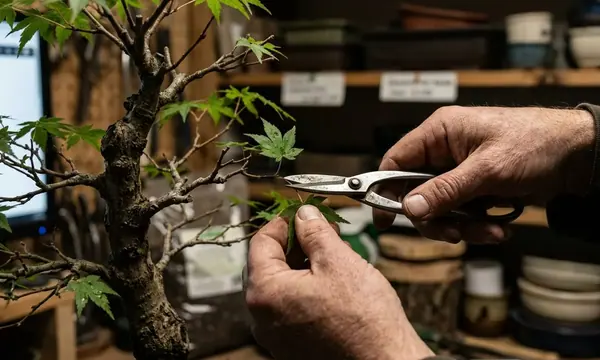
- Open the scissors fully and cut the new shoot cleanly near its base.
- Remove loose debris with tweezers only if it blocks light or hides the cut zone.
What remains matters. Older needles near the cut zone continue to support the branch and frame the summer buds that follow. If you damage those needle pairs while trying to make a close cut, you reduce the very resource that helps the pine respond.
Use one deliberate cut rather than chewing through tissue. A slight angle that sheds moisture is acceptable, but the larger issue is hand position: steady the branch, open the blades, and close them once. Ragged cutting turns a refinement task into a wound-management task.
Balance Strong and Weak Areas
Japanese black pine usually pushes hardest in the upper and outer canopy. That is apical dominance in bench terms: the top and exterior grab more energy, while lower and inner shoots lag behind.
Beginners need two usable levers, not a full vigor-management lecture. First, you can stagger timing by vigor zones. Strong areas receive treatment first or more firmly, while weaker areas get more recovery time before you ask them to push again. Second, you can adjust how aggressively each zone is decandled in a single session.
The conservative staggered approach suits trees with obvious strength differences. Weaker areas may wait while stronger areas get restrained. This does not guarantee perfect uniformity, but it reduces the chance that a weak interior branch gets punished for the strength of the crown.
Two Balancing Options
- Stagger by vigor: Treat strong zones separately from weaker zones so the weaker branches are not forced onto the same schedule.
- Vary the session: Decandle strong shoots firmly, treat medium shoots with restraint, and leave weak shoots when they lack the strength to respond.
Aftercare and Response Checks
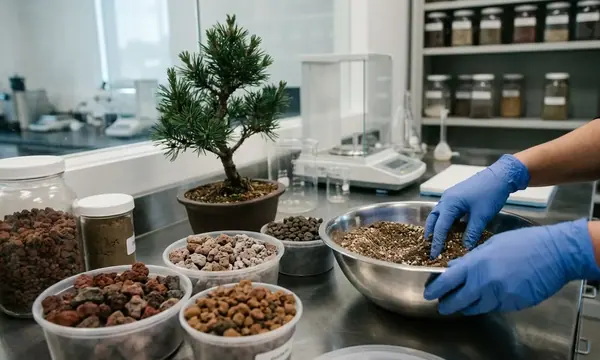
Aftercare should feel stable, not heroic. Return the tree to bright outdoor conditions appropriate for Japanese black pine, protect it from unusual stress, and maintain consistent watering.
Avoid sudden fertilizer extremes. Match feeding to the tree’s vigor and to your established seasonal program. A strong, well-rooted tree can keep moving after the cut; a marginal tree does not become stronger because the grower adds a heavy corrective dose after pruning.
What to Watch
- Bud swelling around the cut sites in warm conditions.
- Emerging second shoots that appear evenly across comparable strength zones.
- Uneven response between upper and lower branches.
- Yellowing, dull color, or stalled buds that suggest stress.
- Soil moisture patterns that change after foliage removal.
Record the cut date, weather pattern, tree condition, and response quality. Those notes become your local timing reference. Comparisons demonstrate their value most clearly when two trees of similar size respond differently because one had stronger roots or a warmer bench position.
Common Cautions
Do not decandle every shoot just because the exterior looks ready. An interior shoot may be too weak to push a second flush, yet still valuable for future structure. Leaving it uncut can be the more refined decision.
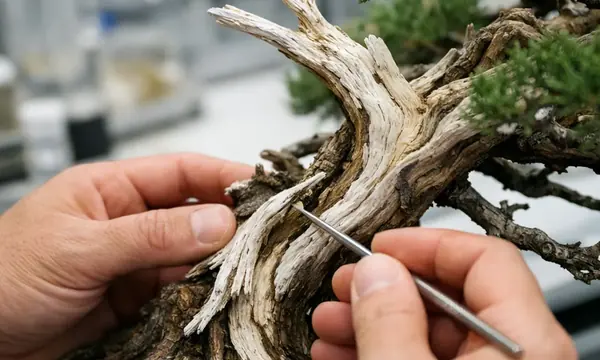
Sacrifice branches also follow different rules. If a branch exists to thicken the trunk or build a section of primary structure, uninterrupted growth may serve the design better than compact needles. Refinement pruning and development growth ask the tree to do different jobs.
Late cutting carries particular risk in cool regions. The second flush needs enough warmth to extend and harden before autumn. When that window narrows, a written schedule from a warmer climate can become poor advice for your bench.
With Japanese black pine, the safest question is not, Can I cut this shoot? It is, Can this exact branch afford to replace what I remove?
— Wyatt Henderson, Senior Horticultural Curator
Field Takeaways
Decandle only healthy Japanese black pines that have firm spring shoots, hardened needles, good color, active roots, and enough old needles near the cut zone. If the tree was recently repotted or shows unstable watering response, wait.
Cut at the transition between the current year’s spring shoot and the older needle area. Preserve viable buds and old needle pairs because they support the summer response.
Balance the tree by vigor. Strong upper and outer zones can take firmer treatment than weak lower and interior zones, and some shoots deserve to remain untouched.
After cutting, keep conditions steady and observe the response. Local climate, prior work, and tree health can all shift the correct window, so seek in-person guidance for valuable or already-stressed trees rather than relying on a written schedule alone.