What's Inside
- Protect foliage and steady exposed pots
- Plan the windward screen and materials
- Build the frame and fit the removable panel
- Inspect the bench before forecast winds
- Keep wind protection and moisture checks together
Protect Foliage and Steady Exposed Pots
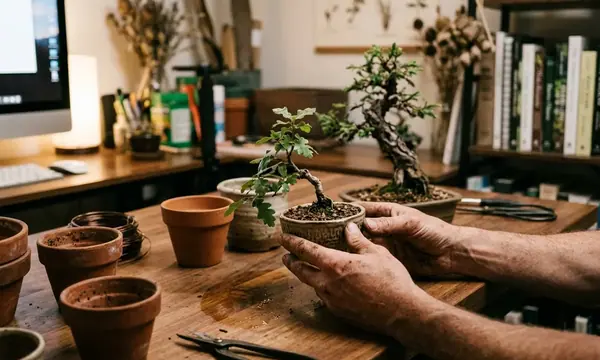
Santa Ana winds can dry delicate bonsai foliage and topple pots from an exposed backyard bench. A removable shade cloth panel on an independently anchored frame gives the bench a windward shield while leaving room for ventilation, watering, and inspection.
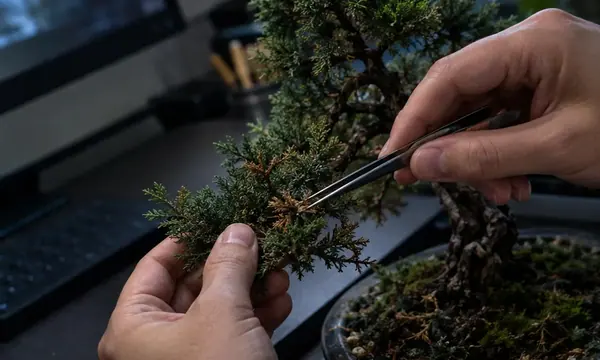
The aim is to diffuse incoming airflow. Dry gusts can leave juniper tips crisp, maple leaf margins scorched, and new shoots wilted. Shallow pots and trees with tall, heavy crowns also need attention: wind acting on the canopy can tip the whole planting over a bench edge.
Santa Ana winds generally approach Southern California from the northeast or east, moving through mountain passes and canyons toward the coast. Around a backyard bench, buildings and fences can redirect that flow. Place the panel according to the approach at your trees, and keep a sheltered relocation spot ready for vulnerable pots.
Plan the Windward Screen and Materials
A narrow passage between a garage and fence can steer wind toward the end of a bench. That local approach matters when choosing the panel position. Walk the space before buying materials, then plan installation for calm conditions.
Find the Windward Side of the Bench
Which side receives the approaching gusts? Observe the bench on a breezy day, or examine debris left after an earlier event. Leaves gathered against a fence and dust deposited on pot surfaces offer useful clues. Check exposed approaches, gaps between buildings, overhead branches, and the routes you use to carry trees or watering equipment.
Measure the bench length and depth, the tallest canopy you intend to protect, and the clear mounting area on the windward side. Include your walking path in that last measurement. You should still be able to inspect a pot and reach its substrate with a watering wand.
Plan a panel that extends beyond both bench ends and above the tallest protected canopy. Leave space between cloth and branches for the cloth's expected billow, with additional working room for watering. Keep the top open; the project is a windward panel rather than a cover over the trees.
Choose Cloth, Supports, and Removable Fittings
Knitted HDPE shade cloth generally resists running when cut. Reinforced hems, perimeter webbing, and factory grommets distribute fastener loads better than holes punched through unsupported mesh. Choose a finished panel where its dimensions suit the measured space.
A shade percentage describes light reduction, not the assembled screen's wind-load capacity, so select supports intended for a screen application on your mounting surface. Follow the load path: wind presses on the cloth, its reinforced edges transfer that force into the fasteners, and the posts carry it to the substrate anchorage. Keep that path independent of the bench holding the pots.
- Frame and anchors: choose exterior-rated posts and supports suited to the mounting surface; use ground-contact-rated lumber for buried wooden posts.
- Connections: pair galvanized connectors with galvanized fasteners, or stainless connectors with stainless fasteners, to reduce corrosion from dissimilar metals.
- Removable attachments: use ball bungees, suitable clips through grommets, or turnbutton-style fittings that release by hand.
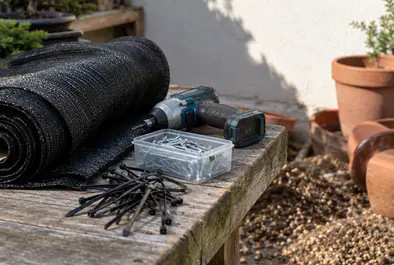
- Tools: gather a measuring tape, marker, level, drill or driver, appropriate cutting tools, and protective eyewear.
Identify whether the supporting surface is soil, slab, pavers, or deck before choosing fittings. Leave the hardware purchase until you have settled the anchorage arrangement.
Build the Frame and Fit the Removable Panel
Can you release the cloth easily while leaving the frame secure? Making the panel removable keeps seasonal handling straightforward. Repeatedly pulling and resetting ordinary posts can loosen their anchorage; a fixed frame lets you remove the cloth without disturbing the supports.
Mark the Supports
Transfer the bench footprint and canopy envelope to the installation area. Mark post positions on the windward side, offset from the bench. Use a temporary stake or string line to mark the panel's upper and lower edges.
Walk the watering route before proceeding. Allow for moving cloth as well as stationary branches, and keep every support clear of the path.
Install the Anchored Frame
Arrange a utility locate before digging and check for buried services before ground work. For surface mounting, inspect the slab or deck framing at each proposed base. Choose sound mounting locations and install the selected supports according to their instructions.
Garden stakes and tent pegs serve as temporary positioning aids; use structural anchorage for the finished screen. Plumb each post with a level on adjacent faces. Tighten rail connections, fit any bracing the frame system requires, and turn or trim protruding hardware away from foliage and walking routes.
Prepare the Cloth Edges
Lay the cloth on a clean, dry surface and mark the measured outline. Cut and finish edges according to the supplier's instructions, retaining factory hems and grommets wherever possible. Fold or trim surplus cloth so no loose tail can whip against bark or strip needles from nearby branches.
Attach the Panel
Fasten the upper edge first, followed by the sides and lower edge. Distribute attachment points evenly along each edge so a single corner does not carry the panel's load. Smooth loose folds and tuck or trim fastening tails that could reach the trees.
Check the panel from the tree side as well as the outside. Keep the space above the bench open for light and watering access.
Check Clearance and Removal
Inspect the gap along the full panel, including beside projecting branches. Gently move the cloth toward the trees to check that its movement stays clear of foliage. Reach each pot with your watering wand and confirm that you can inspect the substrate without leaning against the screen.
Practice releasing and folding the panel in calm weather. Keep its removable fasteners together so the next installation follows the same arrangement.
Inspect the Bench Before Forecast Winds
Check Before Gusts
Complete this short round while conditions remain calm:
- Inspect frame connections, anchor bases, cloth hems, grommets, and every removable fastener.
- Recheck foliage clearance after tree growth or changes to the bench arrangement.
- Test substrate moisture directly with a finger, chopstick, or pot-weight check. Water according to each tree's condition; moving air increases drying even in partial shade.
- Move lightweight pots, top-heavy trees, recently repotted specimens, and exposed end-of-bench trees to the sheltered relocation spot.
- Secure watering cans, tool trays, wire spools, and empty pots.
- Stay clear if the screen shifts or sheds fasteners during gusts. Make repairs once conditions calm.
- After the event, inspect foliage, check moisture again, and remove the cloth so the trees return to their usual light.
Keep Wind Protection and Moisture Checks Together
Shield With Access
A porous, removable panel works with independent anchorage, clear space around foliage, an open watering route, and a sheltered place for vulnerable pots. Start by measuring the windward side of your bench and identifying its supporting surface before buying fittings.
A pot can remain upright while its root ball continues to lose moisture in dry, moving air.