What's Inside
- Assess and Wrap the Boxwood Bend
- Set the Guy-Wire and Check the Pull
- Photograph Before Touching the Wire
- Choose Whether to Advance, Hold, or Ease
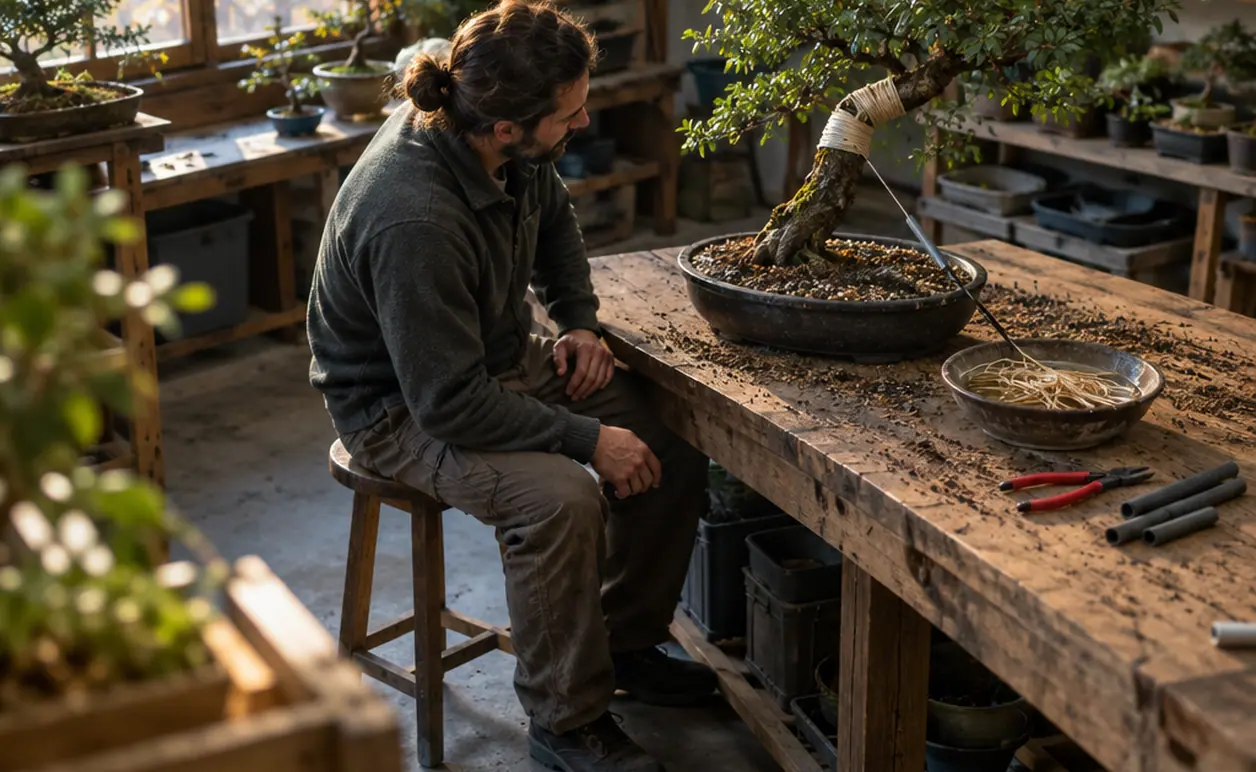
A rigid boxwood trunk responds best to a sequence of small adjustments across growing seasons. Damp raffia protects the bend zone, while a padded guy-wire maintains directional tension. The practical task is to prepare that protection, establish a stable pull, and judge whether each later check calls for advancing, holding, or easing the bend.
Let the Boxwood Curve Develop Across Seasons
Mature boxwood has dense, fine-grained wood that can split with little warning. A dramatic bend in a single session places considerable strain on the outside of the curve, where the wood stretches. A modest change leaves room to observe the trunk and tree response before asking for more movement.
Think in growing seasons rather than weeks.
Time adjustments to active growth, generally from spring into early summer, when living tissue beneath the bark is active. Keep the division of labour clear: raffia distributes pressure around the bend and protects the bark; the guy-wire supplies the pull. Raffia cannot make a brittle trunk safe to force, so reduce the intended curve whenever the wood resists a modest adjustment.
Assess and Wrap the Boxwood Bend
A boxwood with a firm rootball and healthy growth offers a suitable starting point. A trunk that wobbles at its base needs more establishment before structural bending. Work outward from tree health to bend location, then gather materials and wrap.
Confirm That the Roots Hold
Gently press the trunk base and watch for movement within the pot. Proceed only when the tree is established and firmly rooted. Defer bending on a stressed tree or after substantial root work; wait until new growth confirms re-establishment.
Select a Broad Directional Change
Inspect the intended bend for hairline splits, sunken or dead bark, old pruning wounds, and narrow junctions. Move the bend away from these features or abandon that bend. Choose a modest change in direction with a continuous curve rather than a tight crease in rigid wood.
Gather Protection and Hardware
Prepare natural raffia, water, guy-wire, rubber tubing or comparable padding, wire cutters, and a sound anchor. Plan the wire route before wrapping so you know where its padded contact will bear against the trunk.
Wrap the Full Bend Zone
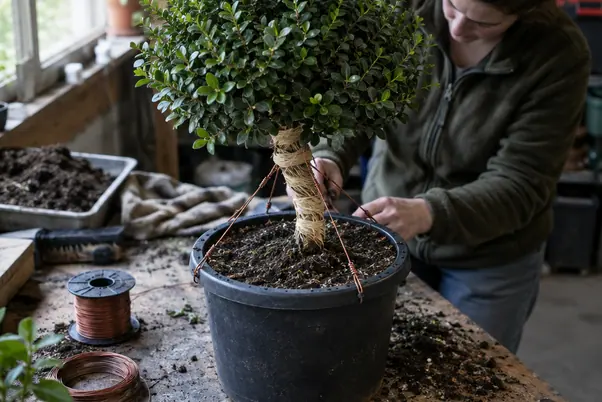
Soak the raffia until it folds without cracking, then apply it while damp. Work in an overlapping spiral and extend the wrap beyond both ends of the planned bend. Keep coverage continuous, particularly along the outside face: the inside compresses while the outside stretches and is most vulnerable to tearing.
Finish with flat tucks. Bulky knots beneath the guy-wire contact concentrate pressure, and damp raffia tightens slightly as it dries.
Set the Guy-Wire and Check the Pull
Where will the tension go when you tighten the wire? Follow the proposed line from trunk contact to anchor before applying force. A useful setup draws the selected trunk area toward a fixed point while the pot and rootball remain stationary.
- Choose the pull direction. Position the contact so the wire encourages the intended curve. Avoid a diagonal pull that twists a weak junction.
- Protect every contact. Place rubber tubing or comparable cushioning wherever wire meets bark, including any contact outside the raffia. Seat the padding so it stays between the wire and trunk during adjustment.
- Secure the anchor. Use a sturdy pot attachment point, a wire secured beneath the pot through a drainage hole, or a separately secured support. Keep the load off a thin or fragile pot rim.
- Take up slack. Straighten the guy-wire without adding bending force. Watch the trunk, anchor, pot, and rootball together as the line becomes taut.
- Make a small adjustment. Add a slight increase in tension, then stop and inspect. Keep your attention on the whole assembly rather than the trunk outline alone.
- Reassess before proceeding. Check the anchor first, then the pot and rootball, followed by padding, bark, and foliage. Leave the setup under observation before considering another adjustment.
Stop at Splitting
Stop tightening at any cracking or creaking sound, visible fissure, lifting or tearing bark, developing hinge, wire indentation, slipped padding, or rootball movement. Ease tension gradually when these warning signs appear. Yellowing or thinning foliage, dieback beyond the bend, and stalled new growth also call for easing rather than further adjustment.
If the anchor creeps or the pot tips toward it, rebuild the rig. More tension only increases the misplaced load. A secure anchor must hold its position while the selected trunk area takes the intended pull.
Photograph Before Touching the Wire
Keep the Viewpoint Fixed
Suppose the pot leans toward the anchor while the wrapped trunk retains the same outline. That apparent progress comes from movement in the pot and rootball. Replace the unstable anchoring arrangement before adding tension.
Mark the camera position and height, then photograph from that position before each adjustment. Include the pot rim and a fixed background reference. Compare the new image with the previous photograph before touching the wire.
Record the date, anchor condition, padding and bark condition at each contact, and visible foliage or growth response. Consistent framing helps separate actual trunk movement from a shifting attachment. Use the photographs alongside direct inspection to choose the next action.
Choose Whether to Advance, Hold, or Ease
Let Stability Govern
Protect the bend zone, establish a stable padded pull, make a small adjustment, and observe. Advance only when the anchor, pot, rootball, bark, and foliage have stayed stable since the previous adjustment. Hold when new growth has yet to appear, padding has just been reset, or photographs are difficult to compare. Ease tension gradually when warning signs develop.
If the trunk springs most of the way back as you ease the wire, redraw the intended curve for this season. Preserve a healthy trunk even when that means accepting a smaller change in silhouette.
Does your boxwood justify another small adjustment, or should this bend wait?